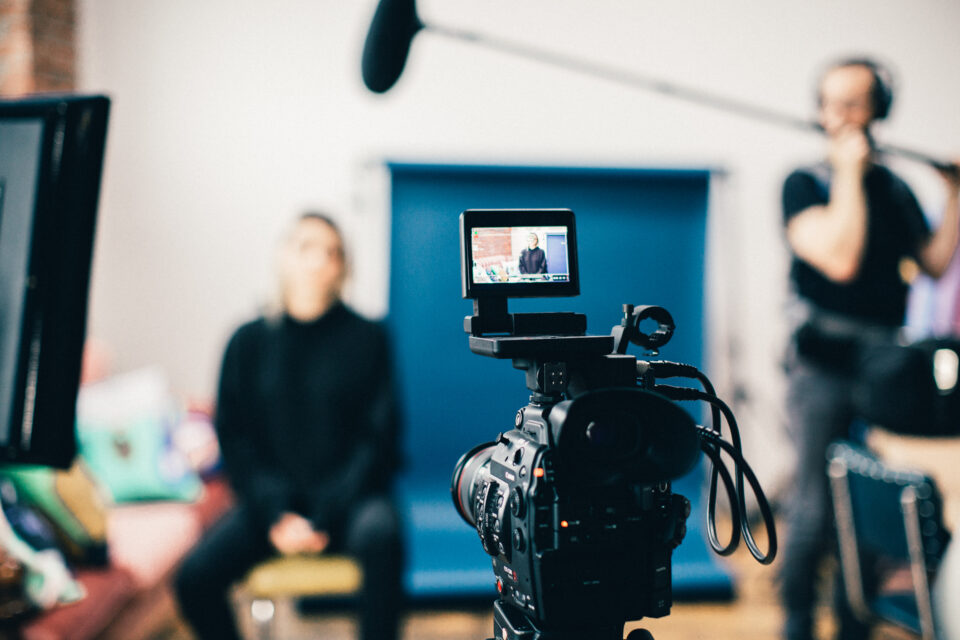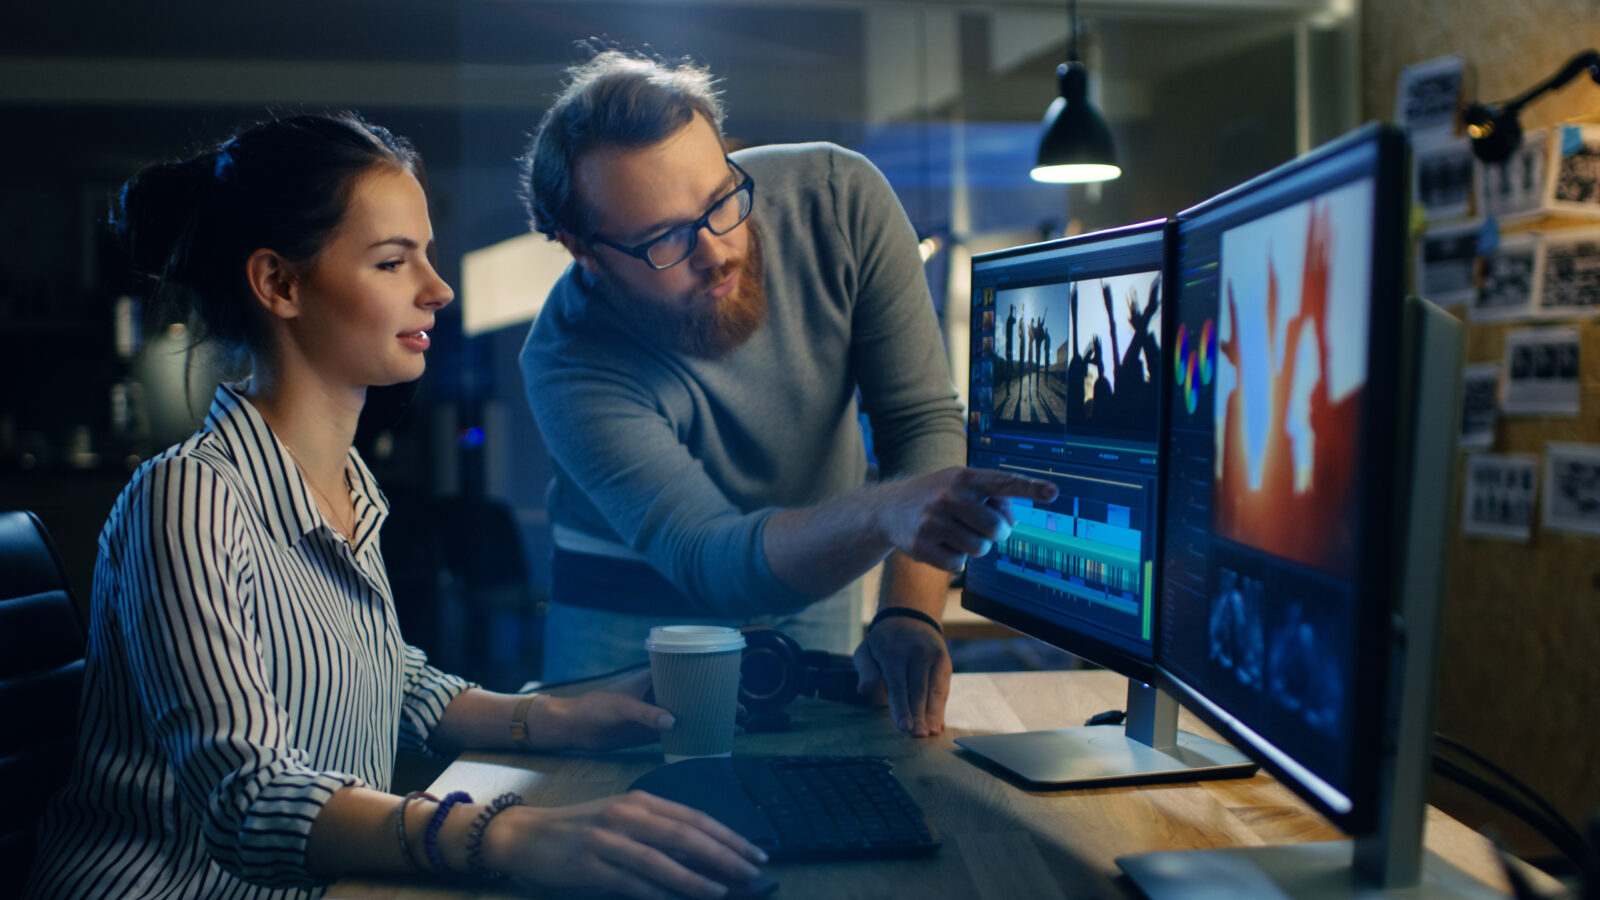
Labour of love: Advice on the hard work of editing a documentary
The goal of editing any film is to tell your story as effectively and efficiently as possible. Follow these tips for cutting your documentary to get a better-quality finished product—and to help make the process of achieving it go more smoothly.
FIND YOUR STORY
Documentaries aren’t as strictly bound to a three- or five-act structure as fictional films are (and docs definitely don’t have to “save the cat”), but they must still tell a story with a beginning, middle, and end. The intricacies of how you relate that story depend on the type of film you’re making—an ideas-based, interview-heavy documentary, for example, may not call for a linear “this, then that” structure. Nevertheless, your final cut will have to engage viewers with the discernible development of your themes and arguments, ramp up to a climax, and achieve a satisfying (or, perhaps, intentionally unsatisfying) conclusion.
ORGANIZE YOUR FOOTAGE
Whether you’re a student filmmaker or Errol Morris, making a documentary is not a job for the disorganized. While shooting your movie, you should at least keep a daily log detailing the footage you’ve obtained. When it comes time to edit, you’ll need to be even more systematic. So, assuming you shot digitally, separate your footage in folders—for interviews, b-roll, and the like—when you import it to a computer. And make sure to label individual clips/files so that it’s clear what each of them contains.
WATCH AND TRANSCRIBE
You’ve shot hours of footage, now it’s time to spend many hours more watching it. Write down what happens in each clip, making note of any especially germane material.
For interviews, consider going a step further by transcribing them in full, complete with timestamps. It’s a laborious job, but it can be a lifesaver when it comes to actually assembling your film. Searching a document for a half-remembered quote is far faster than having to re-review potentially hours of footage. If you really don’t want to do a full transcription, software exists that lets you to search for spoken words within digital video files. But you’ll still want to watch all your interviews (and make appropriate notes) as a first step in building your film’s story.
SELECT YOUR SHOTS AND CUTS
Choosing the shots, scenes, and interviews that make your edit (and how they fit with one another) is dependent on the story you’re trying to tell and the visual language you’re using to tell it. However, some guidelines have coalesced over time, including:
- Vary your shot use, but remember that medium shots and close-ups tend to forge a stronger connection with viewers, lending the impression that they’re having a conversation with whoever is on screen.
- Cut to a logical rhythm. If you need to make an edit, do it on an action (like, if your subject makes a hand gesture). Or cut to dialogue—words that are given particular emphasis by the speaker, for example.
- Minimize jump cuts. You might make an aesthetic decision to retain one here and there in your “talking head” footage. But in general such cuts are jarring. Instead, cut to b-roll, archival, or stock footage to help hide edits you make to interview audio.
Remember that editing must be in service of your story—to tell it efficiently and propulsively, and to present visuals that contextualize and expand upon your themes and arguments.
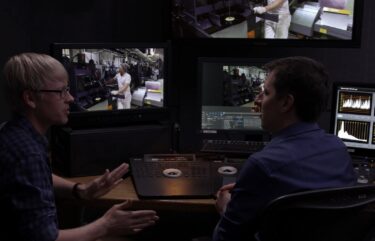
CORRECT YOUR COLOUR
It’s more or less a given that a low-budget doc will be edited together from varied sources: interviews, b-roll, archival videos, photographs, and more, all shot at different locations and under different lighting conditions. Colour correction is needed to make these disparate images appear seamless. The manual process of balancing the exposure, saturation, and colour temperature of your film’s every shot is fairly technical—and thus better left to more in-depth articles—but suffice to say it’s a vital part of the editing process. Consider hiring a professional with specialized software to undertake this important work.