Listen up! How to record high-quality sound for your indie film
In a film, sound does everything from setting the mood of a scene to emphasizing a specific action to, of course, allowing dialogue to be heard. Recording great audio is vital to the success of your movie—especially when it’s a documentary or indie project, as you might not have the luxury of re-recording audio in post-production. Here’s how to make sure the sound you get meets your standards.
GET GOOD GEAR
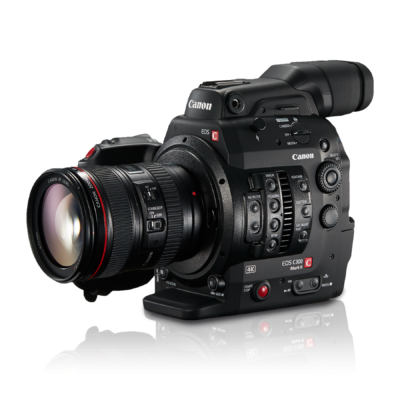
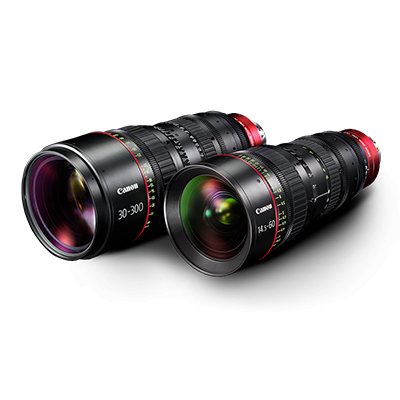
Your camera’s built-in microphone is good for getting “scratch” audio to aid post-production syncing and sound editing, but it’s not meant to achieve professional results. So you’ll some extra equipment:
- A directional shotgun mic that can be attached to your camera (for ambient recording).
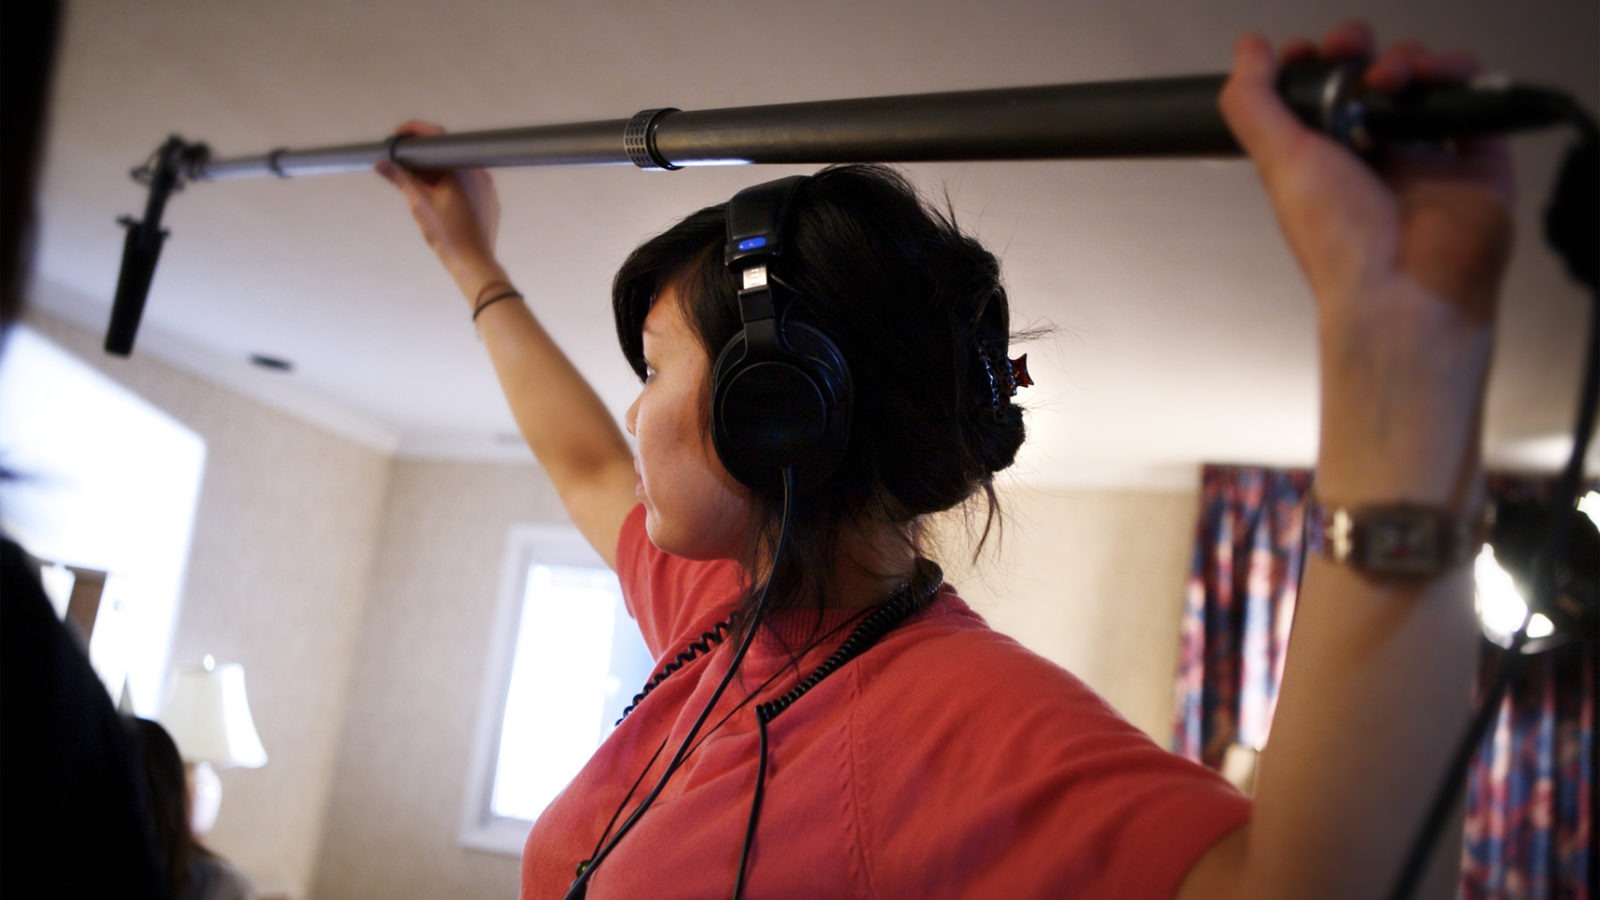
- A boom pole, also for mounting your shotgun mic—for recording dialogue or documentary interviews.
- A lavalier microphone for sit-down documentary interviews. (The boom-mounted mic would then act as your backup.)
- A portable multi-track field recorder for shooting with “dual system sound,” which gives you the security of a consistent, high-quality digital audio file in addition to the sound recorded by your other mics. The extra source is also useful for syncing audio in post-production.
Recording devices in hand, you’ll then need to grab a few good-quality accessories, including XLR cables and windscreens, plus headphones so you can get a clear indication of your location’s audio mix while recording.
LISTEN TO YOUR LOCATIONS
Location scouting isn’t just for assessing your visual needs; it’s also the time to listen for possible audio-recording challenges. Whether indoors or outside, be aware of traffic noise (road, air, and rail), sounds made by appliances like refrigerators, air conditioners, and even computers, and the sounds of nature, too. If the aural environment is distracting, or if it’ll make editing more difficult, then that’s a good cue to consider an alternative filming location.
WATCH YOUR LEVELS
Unless you’re dabbling in mumblecore, you should aim to record at the highest possible volume without distortion. Audio that’s recorded too low will inevitably end up muddled with other low-decibel sounds. Increasing the gain in post may make your actors or interviewees audible, but it’ll also raise the volume on unwanted background noise.
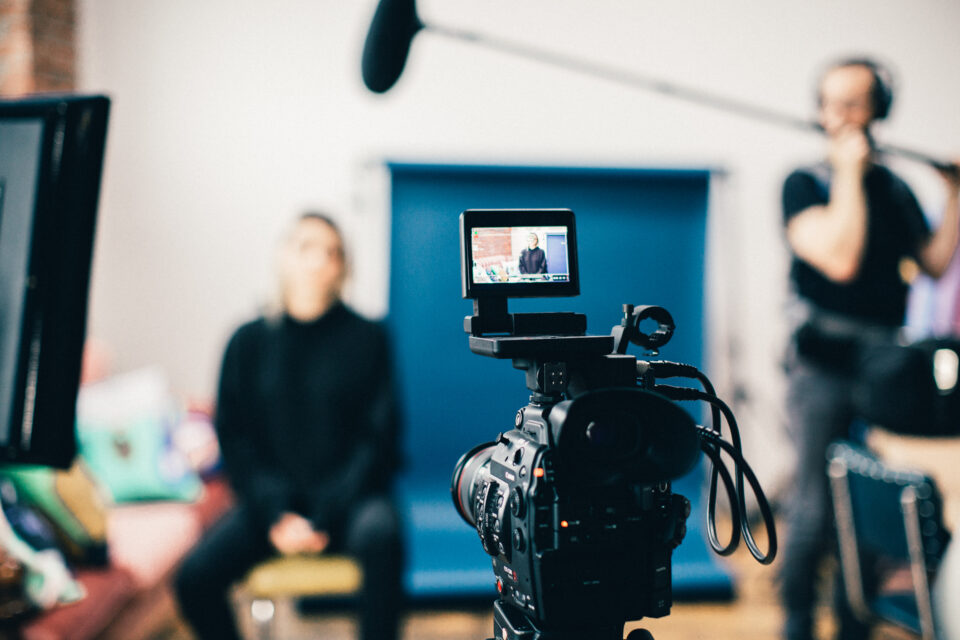
GET UP CLOSE
A mic mounted to your camera won’t cut it in many filming circumstances: Your actors aren’t going to be close enough to it and your levels just won’t be high enough. A boom-mounted shotgun mic held just out of frame will ensure much better recording results.
The lav mic is de rigeur for documentary interviews, but a boom mic is advisable as a backup recording source. The latter is also useful for “person on the street”–style interviews, where affixing a lav isn’t really an option.
RECORD ROOM TONE
No matter where you’re filming, it’s always advisable to start by recording a few minutes of “room tone.” This is a track of your location’s ambient noise, which a sound mixer can use to help ensure the consistency of your background audio, should any Automatic Dialogue Replacement (ADR) or other sonic finessing be required in the editing suite. Recording room tone also aids the audio-syncing process.
IF IN DOUBT, HIRE A PRO
Even for budget-conscious, DIY filmmakers, hiring a production sound mixer could be a worthwhile investment. A professional will likely have her own equipment and know how to use it effectively. She’ll also be better able to identify potential sound problems at your filming locations—before the camera rolls. You’ll get better audio the first time: Fewer shots or scenes will have to be discarded due to sound problems, and you’ll save time and money saved in post by minimizing the need for ADR and overall audio cleanup. Hiring a dedicated boom operator can help in this regard, too.